Just a few words to help understanding how it works.
The SmartCard-HSM (aka Nitrokey-HSM) uses APDUs send from the PC to the embedded Secure Element. This mechanism of sending APDUs to the Secure Element is also used by the portal, meaning, that the portal sends APDUs via the OCF Webclient to the SE. To make sure that access is possible, the SmartCard-HSM needs to be connected to the portal using plain HTTP. Once the connection is established, the portal sends APDUs, the web client passes them on to the token and replays the responses back to the portal.
The communication session between the portal and the token is either short-living or long-living. The former means, that the connection is established on a case-by-case basis as part of the user interaction with the portal. The later connects the token to the portal permanently, meaning that the portal can access the token at any time. This is needed, if you create a trustcenter, which typically needs to access keys on a token frequently. Connecting the token permanently is basically like connecting the token physically at the server running the PKI software. Obviously, this is difficult, if a service runs somewhere in the cloud, where you typically can not connect your own hardware.
So “connect to portal” in your use case is only useful, if you want to use you token as a key store for keys used by a trustcenter or if a firmware update for this specific token was already prepared in the portal.
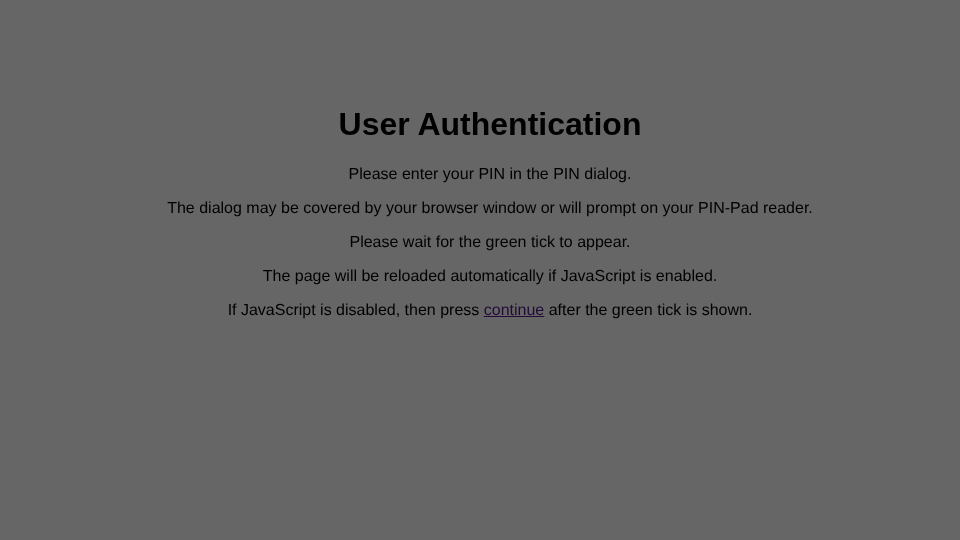
That leaves the question, how short-living sessions are activated. That basically happens when you use the browser to access the portal. When needed, the portal will embedded in the HTML page a link to an image that the locally running OCF client can provide.
That is why
http://127.0.0.1:27001
shows the red box. It’s actually a picture served by the OCF Webclient.
But the URL the HTML pages used to reach the local client contains more information:
- The URL of the portal and
- A session identifier for your browser session in the portal
The web client connects to the URL from 1 and passes the session identifier from 2. The portal can then determine, that within your current user session a token is connected and can be used by the portal to send APDUs.
Once the portal completes sending APDUs to the token, it terminates the short-living session and the web client return the image. The one with the green tick, if things worked out fine or the red cross if something failed.
This way interaction with the token is seamless in the normal browser activities.
For example the login process is basically a short-living session where the token is connected to the portal. The portal sends APDUs to authenticate the token and looks in the database, if there is a user associated with that token. This user is then logged-in without further user or password.
So to answer your last question: You need to register and have an account in the portal. You can log into this account using one of your registered token and then select the firmware update. You can perform an update for any token you have locally, there is no need to register them first. Registration is really just to link a given token with your account. As your account is linked to you e-mail address, you can register as many token as you like to a given e-mail address.